To install aftermarket license plate lights, gather tools like a screwdriver and new lights. Remove the old bulbs or fixtures by unscrewing them. Install the new lights, ensuring they fit securely, and screw them in place. Test the lights to confirm they work before finishing.
Looking to enhance your vehicle’s look? Discover the simple steps on how to install aftermarket license plate lights effortlessly. Upgrade your car’s appearance and ensure optimal visibility with this straightforward installation guide for aftermarket license plate lights.
Stay with us for a quick tutorial on installing aftermarket license plate lights. Elevate your vehicle’s look while ensuring improved visibility. Follow these straightforward steps to effortlessly upgrade your car’s aesthetics and functionality. Get ready to enhance your ride with easy installation instructions.
How To Install Number Plate Lights
To install number plate lights, first, gather the necessary tools: screwdriver, replacement lights, and maybe pliers. Locate the plate housing, usually near the rear of your vehicle. Use the screwdriver to remove the screws holding the plate in place. Swap the old lights with the new ones, ensuring they fit snugly. Then, reattach the plate using the screws.
After securing the plate, test the lights to make sure they work properly. Turn on your vehicle’s lights to check if the number plate lights illuminate. If they do, congrats! If not, double-check the connections and light placement. Tighten any loose screws and ensure the lights sit correctly. Once they’re working, you’re good to go.
Buy New Number Plate Lights
Get brighter and clearer visibility on the road with new number plate lights. Enhance your vehicle’s appearance and ensure compliance with regulations by replacing old or dim lights. Easy to install, these lights provide improved illumination for your license plate, boosting safety while adding a sleek touch to your car’s rear.
Upgrade your vehicle’s aesthetics and functionality effortlessly by purchasing new number plate lights. Illuminate your license plate distinctly, making your vehicle easily identifiable while ensuring optimal visibility for yourself and other drivers. Enjoy a hassle-free installation process and experience enhanced safety and style with these modern, efficient lights.
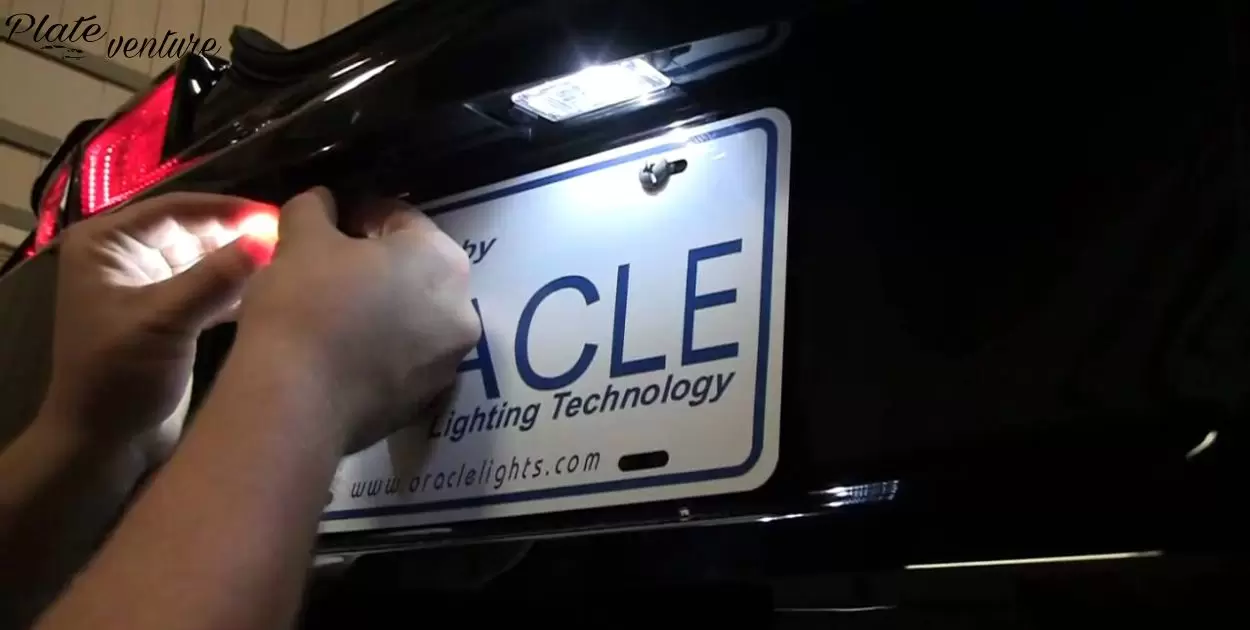
Use A Flat Screwdriver To Remove The Number Plate Housing Cover
Sure, here’s a straightforward guide to removing the number plate housing cover using a flat screwdriver. Then, insert the flat screwdriver into the screw slots and turn it counterclockwise to loosen the screws. Once the screws are loosened, carefully lift off the housing cover using the screwdriver, revealing the number plate beneath.
Using a flat screwdriver allows you to easily access and remove the number plate housing cover. With a firm grip on the screwdriver, unscrew the cover’s fasteners by turning the tool in the direction that loosens them. Take care not to apply too much force to prevent damaging the cover or the surrounding area while removing it.
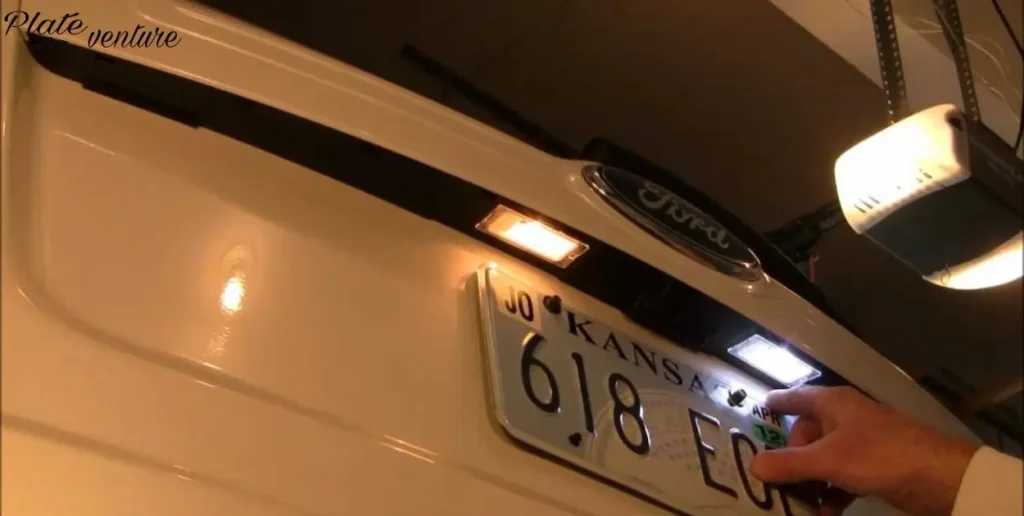
Remove The Bulb Housing Gently And Unscrew The Stock Bulb
To take out the bulb housing, carefully remove it and then unscrew the original bulb. This action allows you to access the bulb easily without causing damage. By gently handling the housing and using caution when unscrewing, you can replace the stock bulb smoothly.
After loosening the bulb housing, Don’t Tread On Me License Plate, remove it with care and then unscrew the existing bulb. This step-by-step process ensures safe removal of the stock bulb without any force. Handling the housing gently and taking your time while unscrewing prevents any potential damage during the replacement.
How To Install Led License Plate Light
Sure, installing LED license plate lights is simple. Gather the necessary tools: new LED lights and a screwdriver. Remove the old lights by unscrewing them. Then, insert the LED lights and screw them in securely. Finally, test the lights to ensure they’re working properly.
Safety is key. Ensure the car is off and the lights are cool before starting. Also, check the instruction manual for specific steps for your vehicle model. Enjoy the enhanced visibility and modern look of your new LED license plate lights.
How To Install License Plate Light On Trailer
To install a license plate light on a trailer, gather the necessary tools: a screwdriver, wire strippers, electrical tape, and the new light fixture. First, locate the existing wiring or power source near the license plate area. Use the screwdriver to remove the old light and disconnect any wires.
Next, attach the wires from the new light to the existing power source, matching the positive and negative connections. Use wire strippers to expose the wires if needed, then secure them together and cover with electrical tape for insulation.
Remember to check the local regulations regarding trailer lights to ensure compliance. Always double-check the connections and the light’s functionality before hitting the road to guarantee proper illumination of your license plate, ensuring safety and legal compliance while driving your trailer.
License Plate Light Wiring Diagram
The license plate light wiring diagram shows how wires connect the light to the vehicle’s electrical system. It illustrates the specific colors and paths the wires follow, aiding in installation or troubleshooting.
This diagram simplifies the process, detailing where each wire should go without using confusing technical language. By following this guide, individuals can easily ensure proper connections for their license plate light.
2 Wire License Plate Light
The 2-wire license plate light is a simple lighting fixture used on vehicles. It comprises two wires, typically red and black, for connection. The red wire usually connects to the power source, while the black one grounds the light.
These lights are easy to install and offer illumination for the license plate. They come in various designs and sizes to suit different vehicles. Connecting the two wires correctly ensures the light functions properly, enhancing visibility and complying with legal requirements for vehicle lighting.
How To Wire A License Plate Light On A Trailer
To wire a license plate light on a trailer, gather the necessary tools: wire strippers, electrical tape, a screwdriver, and a license plate light kit. Locate the trailer’s wiring harness near the license plate area.
First, use the wire strippers to expose a small section of the trailer’s wiring. Then, connect the positive wire from the license plate light to the positive wire in the trailer’s harness, and similarly, connect the negative wires together.
Use electrical tape to secure the connections. Finally, mount the license plate light securely onto the trailer using a screwdriver. Test the light to ensure it’s working properly before hitting the road.
Tools Needed For Installing Aftermarket License Plate Lights
To install aftermarket license plate lights, you’ll need a few tools. Grab a screwdriver, specifically a Phillips-head or flathead, depending on your car’s screws. A pair of pliers might come in handy for certain adjustments. You’ll also need the new lights you’re installing, so have those ready.
First, locate the screws holding the old license plate lights. Use the appropriate screwdriver to remove them. Once they’re out, gently pull the old lights away from the car. Next, take your new lights and align them with the screw holes. Tighten the screws securely using the screwdriver. Finally, test the lights to make sure they work properly.
Safety Precautions Before Installation
Before starting the installation process, ensure you wear appropriate safety gear like gloves and safety goggles. Double-check the area for any hazards, such as exposed wires or slippery floors. Confirm that all necessary tools are in good condition and ready for use.
Next, switch off the main power supply to prevent any electrical accidents during installation. Verify the instruction manual for specific safety guidelines. Always follow proper handling procedures for heavy equipment to avoid any injuries or mishaps. Prioritizing safety measures beforehand ensures a smooth and secure installation process.
Step-By-Step Guide To Installing License Plate Lights
| Step | Instructions |
| 1 | Gather necessary tools: screwdriver, new lights, and pliers. |
| 2 | Turn off the vehicle’s power to avoid electrical accidents. |
| 3 | Remove the screws holding the license plate and set it aside. |
| 4 | Detach the old license plate lights carefully. |
| 5 | Replace with new lights, securing them in place. |
| 6 | Reattach the license plate using screws. |
| 7 | Test the lights by turning on the vehicle’s power. |
| 8 | Ensure lights are working correctly before finishing. |
Understanding Your Vehicle’s Wiring System
Your vehicle’s wiring system is crucial for its functionality. Wires connect various components like lights, sensors, and the engine, enabling them to communicate. Understanding this system helps in troubleshooting issues and performing basic maintenance.
Identify different wires by their colors and markings to decipher their functions easily. Regularly check for frayed wires or loose connections to prevent electrical problems. Familiarizing yourself with the wiring layout can aid in resolving minor issues and ensure smooth operation of your vehicle.
Choosing The Right Aftermarket Lights
When picking aftermarket lights, consider your vehicle’s model and your driving needs. Research different types like LED, HID, or halogen lights and their brightness levels. Check regulations to ensure they comply with local laws, ensuring safety on the road.
Compare prices and quality from various brands before making a purchase. Look for warranties and customer reviews to gauge reliability. Installing aftermarket lights can improve visibility and enhance the appearance of your vehicle, so choose wisely for optimal performance and style.
Removing Old License Plate Lights
When replacing old licence plate lights, start by locating the screws holding the plate in place. Unscrew them using a screwdriver, carefully removing the old light fixture. Next, disconnect the wires attached to the old fixture, taking note of their placement for the new one.

Once the old light is off, attach the wires to the corresponding terminals on the new fixture and secure it back in place using the screws. Finally, test the new light to ensure it’s working properly.Upgrading license plate lights is a simple task that enhances visibility and safety on the road.
Remove the housing cover by unscrewing it, then take out the old bulb by gently twisting it counterclockwise. Insert the new bulb by twisting it clockwise into place, ensuring it’s secure. Once done, put the housing cover back on, secure it with the screws, and test the new light to confirm it’s shining brightly.
Troubleshooting Common Installation Issues
- Check Connections: Ensure all cables and components are properly connected according to the installation manual or guidelines.
- Power Supply: Confirm that the power source is functional and providing the correct voltage for the installation.
- Compatibility: Verify that the components being installed are compatible with each other and the system requirements.
- Alignment and Positioning: Ensure proper alignment and positioning of parts or devices according to the installation instructions.
- Software and Drivers: Install necessary software or drivers required for the components to work correctly.
- Testing Phase: Perform a thorough test after installation to identify any issues or malfunctions before finalizing the setup.
- Refer to Documentation: Consult the installation manual or online resources provided by the manufacturer for troubleshooting guidance.
- Professional Help: If issues persist, consider seeking assistance from a professional or contacting customer support for further guidance.
Wiring Techniques For Aftermarket Lights
When installing aftermarket lights, use proper wiring techniques. Begin by identifying a suitable power source near the lights. Ensure the wires are correctly sized and insulated for safety. Connect the wires securely using soldering or crimping methods to prevent loose connections.
Route the wires away from heat sources and moving parts to avoid damage. Use protective conduits or looms to shield the wiring from the elements and potential abrasions. Finally, test the lights thoroughly after installation to guarantee they function correctly and reliably.
Installing Led License Plate Lights
LED license plate lights are simple to install. First, remove the existing plate lights cover. Next, take out the old bulbs. Then, insert the new LED bulbs and replace the cover securely. These lights offer better visibility and a modern look.
To begin, gather the necessary tools: new LED bulbs and a screwdriver. First, unscrew the plate light cover. Then, carefully remove the old bulbs. After that, insert the new LED bulbs and secure the cover back in place. Enjoy improved brightness and a sleek appearance for your license plate.
Ensuring Proper Fitment Of New Lights
When installing new lights, make sure they fit securely in their designated spots. Check the dimensions and specifications to match the fixture with the intended area. Ensure the connections are secure and the wiring is correctly placed for safe operation.
Adjust the positioning of the lights as needed for optimal illumination. Test the lights after installation to confirm they are working correctly. Regularly inspect and maintain the lights to ensure they continue to function efficiently.
FAQ’s
How do you install license plate lights?
Install license plate lights by removing the old ones, wiring the new lights correctly, and securing them in place.
Can you have lights around your license plate?
Yes, you can have lights around your license plate for added visibility and style, but ensure they comply with local regulations.
Are number plate lights universal?
Number plate lights vary in size and fittings, so they’re not entirely universal. Match the specifications for a proper fit.
How do you dim LED license plate lights?
Dim LED license plate lights using resistors or a dimmer switch in the wiring to adjust their brightness.
Conclusion
Then, wire the new lights following the provided diagram, ensuring a secure connection. Once connected, position the lights accurately, aligning them with the license plate for optimal visibility. Test the lights to confirm proper functionality, ensuring they illuminate without issues.
In conclusion, mastering the process of How To Install Aftermarket License Plate Lights involves attention to detail and adherence to safety guidelines. By selecting suitable lights, correctly wiring them, and testing their functionality, you ensure proper illumination and compliance with regulations.